
I also learned some more and refined my painting/dipping process...which is always a good thing.
Working on the Trukk, I realized the biggest influence on how I painted and pieced it together was the Ramshackle Rule. It's a special rule for the Orks on how to handle a vehicle destroyed or vehicle explodes hit to the Trukk, and I just wanted the Trukk to look as ramshackle as it could. Here's what I did to customize the Trukk:
- Added a piece of a rokkit from a stormboy to the back of the trukk (just for cosmetics)
- Magnetized the boarding planks to be removable
- Magnetized the wreckin' ball to be removable
- Magnetized the reinforced ram
- Cybork'd the driver when one of the arms came up missing (I blame my cat)
- Added hooks to the armour plates for easy attachment
- Cut off and reglued the skull on the radiator to make it more crooked
- Misaligned the bars in the cab to make it look more off kilter
I have a slew of pictures after the jump, so hit it and enjoy the show. And of course any feedback (positive or negative) is always appreciated.

Front of the Trukk sans reinforced ram

Passenger side of the Trukk without the boarding planks and wreckin' ball

I love the idea of the red paint job making it go faster, but I also love the idea
of a mek adding a piece of a rokkit hoping that would help too.

Driver side of the Trukk, I'm not sure if the grey panel hasn't been painted yet
because they haven't gotten to it, or if it was a replacement piece that was just slapped on there.

The cab of the Trukk, as if the gun site being painted orange would help the shoota...
Also, the cab is a really tight fit so a lot of the weathering and painting just didn't show up
after the turret, shoota, and driver were put in there, and the camera angle
didn't really capture how off kilter the driver side bar was...ah well.

Here's the wreckin' ball. I hand painted the checkered pattern to look a bit more orky,
After dipping it, it looked less white and fairly dirty....I was pretty happy.

The boarding planks. I tried to make the one on the right look wood.
I added some small random brown lines against the tan to give a sensation of wood grain.

The reinforced ram.

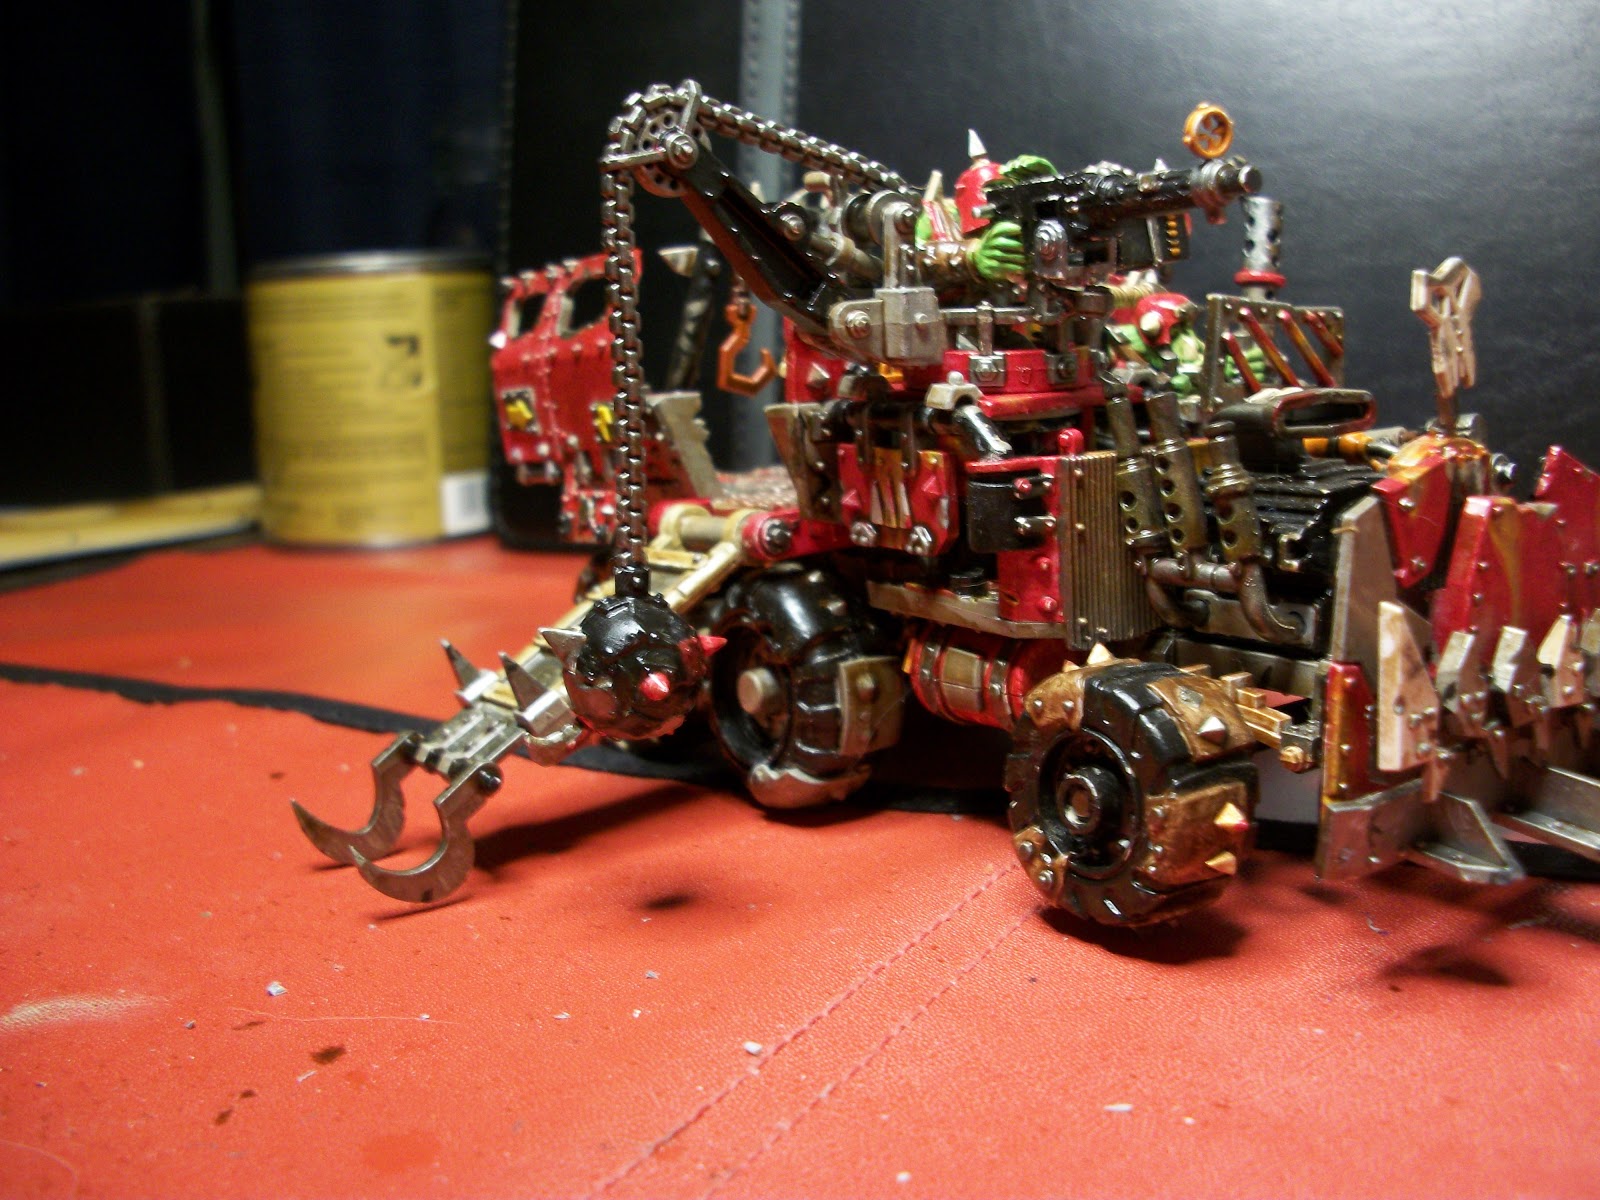
The Front fo the Trukk with the reinforced ram, wreckin' ball, and boarding planks attached.

Passenger side with the boarding plank up, and the wreckin' ball attached.
I love how the bed of the Trukk looks like it could just fall off at any time.

Driver side, plank down. And yes as I look at the picture I now realize I had the planks backwards.
You know what? Leave it to the Orks. Also, thanks to the magnets, I can just switch them around at any time.
Oh and, I kept doing this with the planks when I was magnetizing them, so I'll need to watch myself on this.
Passenger side, same problem with the boarding planks.

Armour plates with hooks.

Armour plates attached to the Trukk bed. They attache to the top to cover the window,
and they also attach to the window to add more armour to the bed walls.

The driver with the cybork'd arm. His arm is a hand holding part of a stikkbomb, attached to
two pieces of an axe haft. The part the blade attached to is the shoulder, and below the
"elbow" is the bottom of the haft.

The big shoota. Some people blame his BS of 2 for why he sucks so much,
in the case of this one I blame the driver's inability to miss a pothole for why he sucks so much.
Love it man! Your best work yet. Coolmini should see this soon I hope.
ReplyDeleteagreed, time to get your CMON account set up and upload this for all to see.
ReplyDelete